Guess what?!?!? I get my very own room this year (well, at least part of the time). The day before school started, my Monday school informed me they had an open room this year and that I could use it every Monday, instead of using the library and/or traveling from room-to-room. It’s a multipurpose room so it has an extra conference table to one side and is a storage space for extra tables, desks, etc. The room was a 2nd grade classroom last year, so it has a teacher computer, projector, Smart Board, and document camera (basically, everything I could ask for). As a traveling teacher (this is my 10th year, yikes!), I’ve dreamed about having my own room and I was to the moon excited about this opportunity. The only trouble is that with finding out the day before school started, I had to scramble to get it ready. Thankfully we started on a Thursday and I didn’t see my kids at this school until Monday, so I had a couple afternoons (after working full days, ugh) to do what I could. I learned a few things along the way, and thought I’d share my thoughts in case anyone else ever has to put together a room on super short notice.
- 1
If you end up traveling for the first few years of your career, plan ahead and buy room essentials over time so you don’t have so much to buy all at once when you finally get a room. Because my hubby is thankfully OK with all the stuff I buy “for when I have a room” I had a pretty decent selection of music room decor to choose from (posters, bulletin board borders, etc.). I’ve also bought/acquired/re-purposed a few organizational items over the years. In the pics below you’ll see a set of stacking baskets (re-purposed from craft storage), white storage bins & colorful baskets (Dollar Tree), white milk crates (super good clearance at Target), canvas bookcase (kids thrift store this summer), and crayon boxes (Target Dollar Spot). Some stuff is new, but it wasn’t soooo bad considering I already had a good amount of stuff to work with.
- 2
If you teach in a multi-purpose space, cover the clutter as best you can. My room has multiple tables, desks, and sets of chairs pushed to one side. I consolidated as much as I could and pushed them as far to the back and side as I could. A few large tables were going nowhere, so I covered them with fabric and used them to organize and display instruments and movement props. The fabric helps disguise the fact that they’ve been dumped there and provides a hiding space underneath for things I don’t want the kids to see out in the open.
- 3
Search for room decor on Teachers Pay Teachers. I *could have survived on what I had pre-purchased, but I had been eyeing several things from fellow TPT sellers. All the items I purchased were reasonably priced (in my opinion) and match the style I was going for in the room. I’ll list the links to the items I used in the room below.
- 4
Make decor items yourself. If you’re handy with a computer, make some spiffy posters for your room. It’ll save you money and you’ll get a customized look. I made a few items for the room as I felt inspired. I’ll mention what things I made myself in the pics below.
- 5
Get your stuff printed professionally, and search for coupons! I went to Office Max to get my items and the stuff I bought on TPT printed. My printer used to be super-reliable and I used to print everything on it. Now it’s several years old and I was finding that I was throwing away 2/3 of the pages I was printing as they were not up to snuff. If I had more time to set the room up, I would have gone through my district’s print shop, but with time being short, I opted to pay out of my own pocket. I went up to Office Max 3 separate times and the person working each time was super helpful and polite (especially nice since I usually squeaked in right before closing time on my way home from working on the room). I had a coupon one time, and another time I think the person gave me a discount for being a teacher (either that or she lost count of how many pages she had printed for me, ha!). I always made sure I had a post-it note of which files on my flash drive to print and which pages I wanted printed (if it wasn’t the whole document).
- 6
Ask seasoned teachers for help. I sent an email out to the elementary music teachers in my district explaining my situation and asking them for their must-have list of items in a classroom. They reminded me of several easy additions that make life easier.
- 7
Don’t be afraid to ask admin for help, and/or accept it if they offer. My principal immediately offered to purchase a rug so my students don’t have to sit on the tile. She gave me the option of ordering a rug from a school catalog, or trying to find something appropriate locally. At first I felt bad about her spending money when there’s no guarantee that I’ll get a room the next year, but then again, she can always use that rug in that room with a classroom teacher next year if I don’t get the space again.
- 8
Ask family and friends for help. My husband came up both Thursday and Friday to help after school. He moved heavy items, removed staples from the walls, and fetched dinner. My 5-year-old daughter handed me bulletin board borders so I didn’t have to keep climbing down the ladder. I normally wouldn’t have asked my family to come up for so much time (and stay so late!) but I know I would have never accomplished what I did in the time I was given if I had done it all on my own.
- 9
Ask around for deals. I had a friend who had family connections to a local flooring company. They were able to get me a great deal on a 9x12 rug. I’m part of several buy/sell/trade groups on Facebook. Through these groups I’ve purchased a few things for my room at a deep discount, and I’ve gotten leads to awesome items on sale at local stores. (Sam’s is currently selling rainbow-colored 10-drawer carts for only $25. I use one by my desk to sort papers.)
- 10
Be OK with not getting everything done before students walk in the first time. Prioritize what you feel will have the most bang for the buck. I spent 4 hours after school Thursday and 5 hours after school Friday. I spent almost 2 hours before school Monday and it still wasn’t what I would call finished. I got to the point where I was OK with that – there were spots in the room that were empty. There were spots in the room that were still messy. I was still cutting out laminated items during plan time and slapping up more bulletin board borders. And you know what? My kids came in and “oohed” and “ahhed” anyway. It was more than they expected, even if it was less than what I expected.
Have any of you been in this situation before? I’d love to hear your take on putting together a room on such short notice! OK. Now on to the fun part – room reveal! CLICK ON PICS FOR BIGGER PICTURE! I added a ton of links in case you’re interested in using what I’m using. 🙂
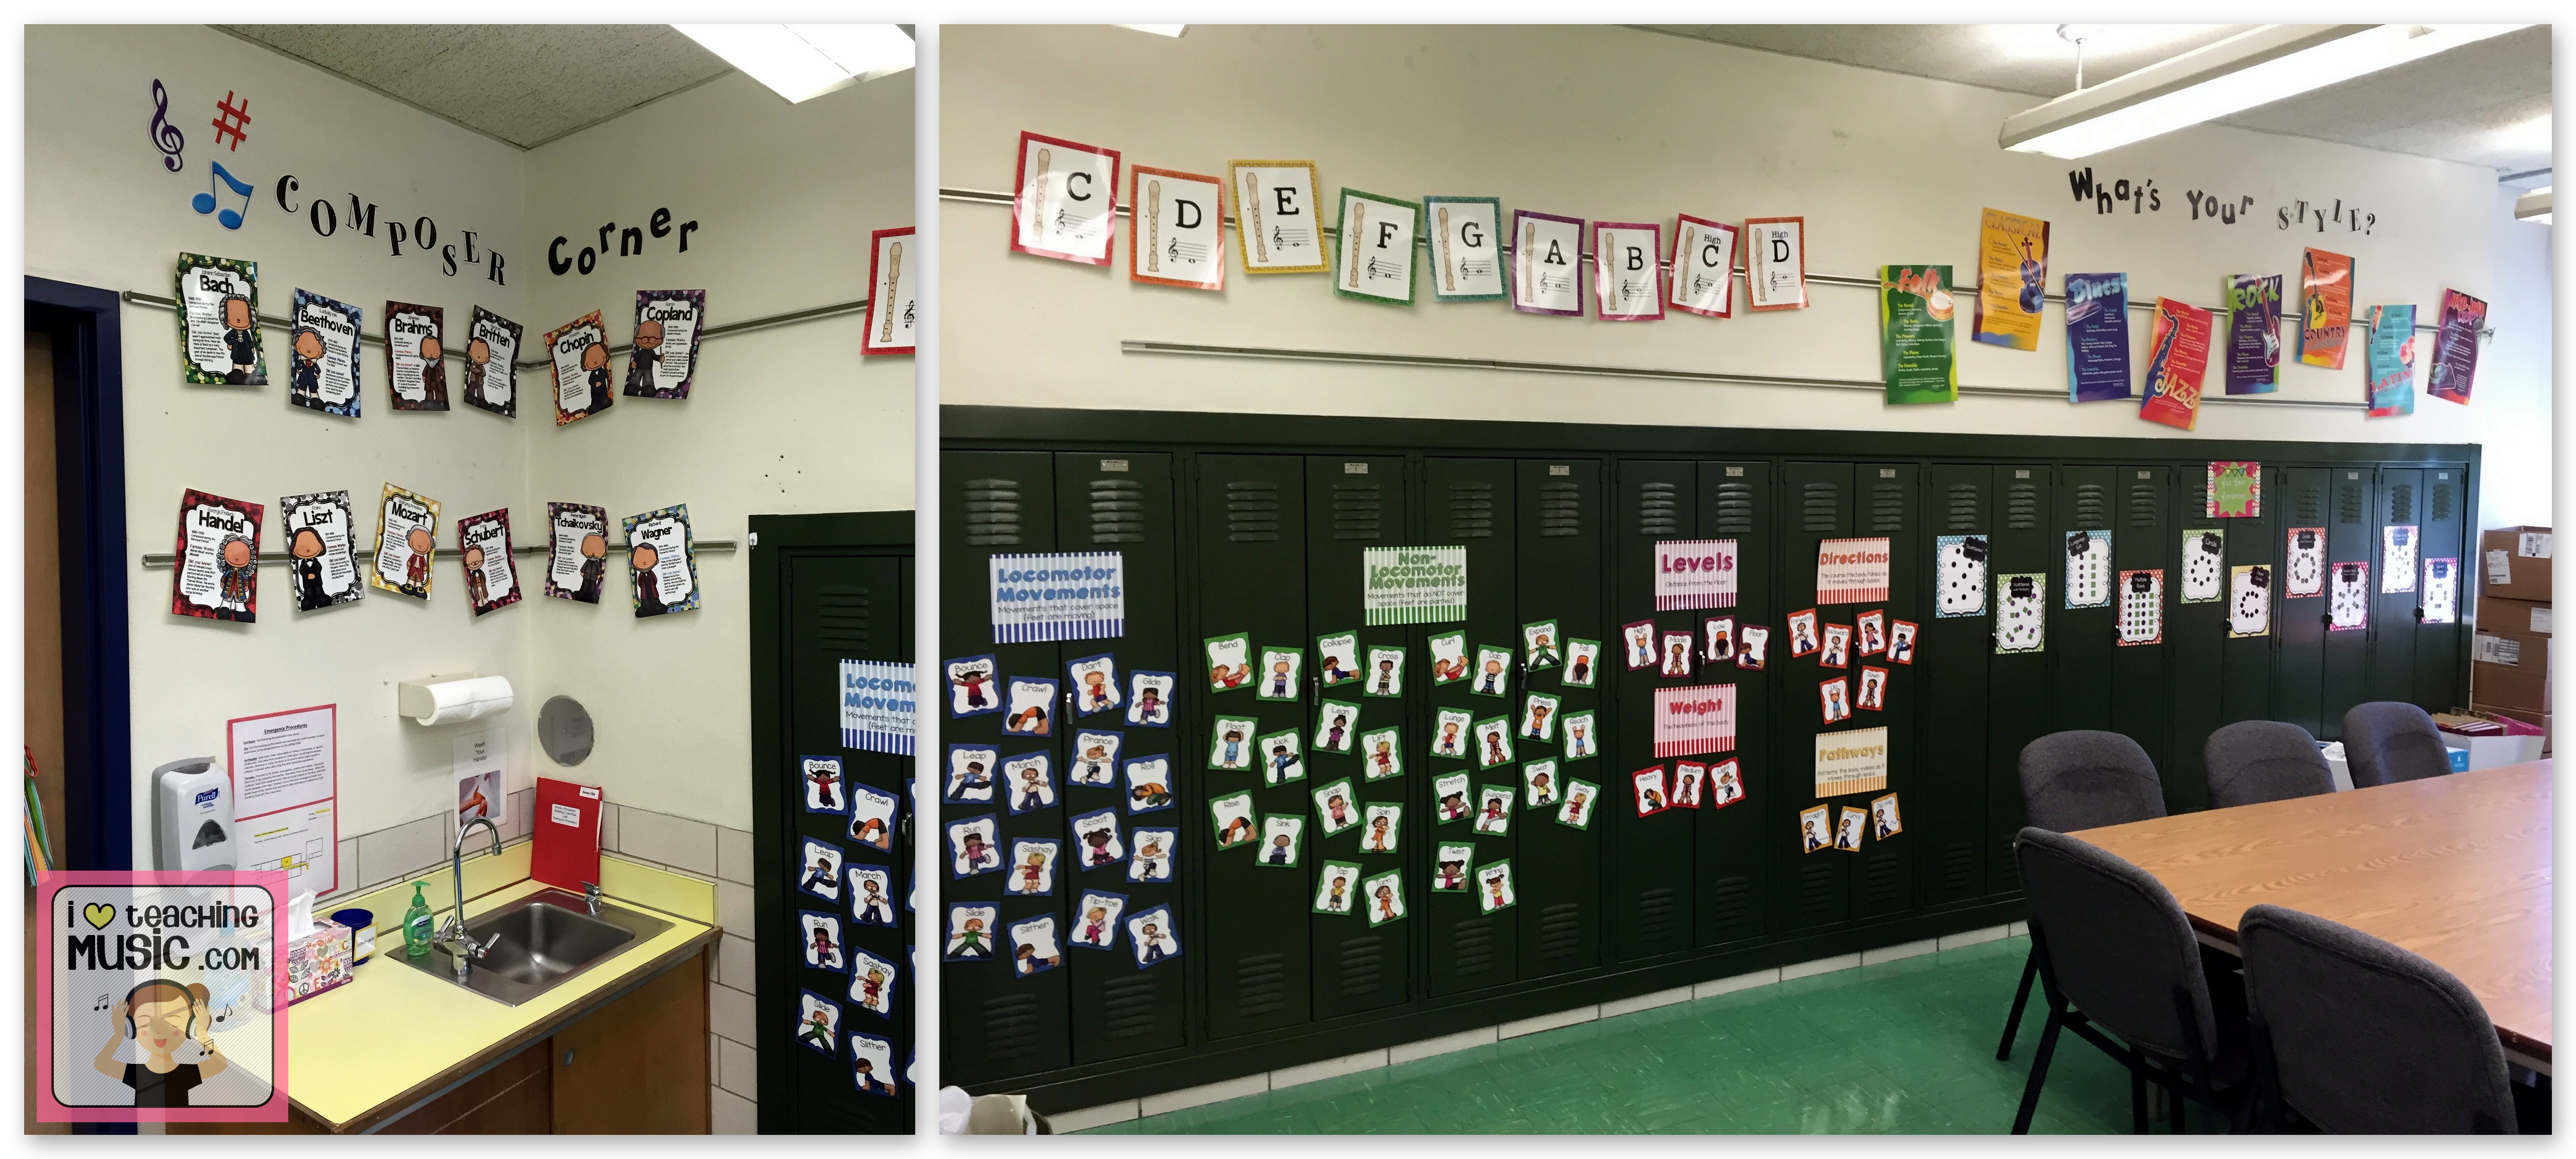
Left wall (next to door)
Sink right next to door. Meet the Composer posters above sink. Movement Word Wall cards and Folk Dance Formation posters on lockers (used magnet strips). Recorder fingerings (will be available soon with my EEEase Into Recorder program) and Music Genre posters above lockers. Lovely conference table and chairs pushed to one side of room. 😉
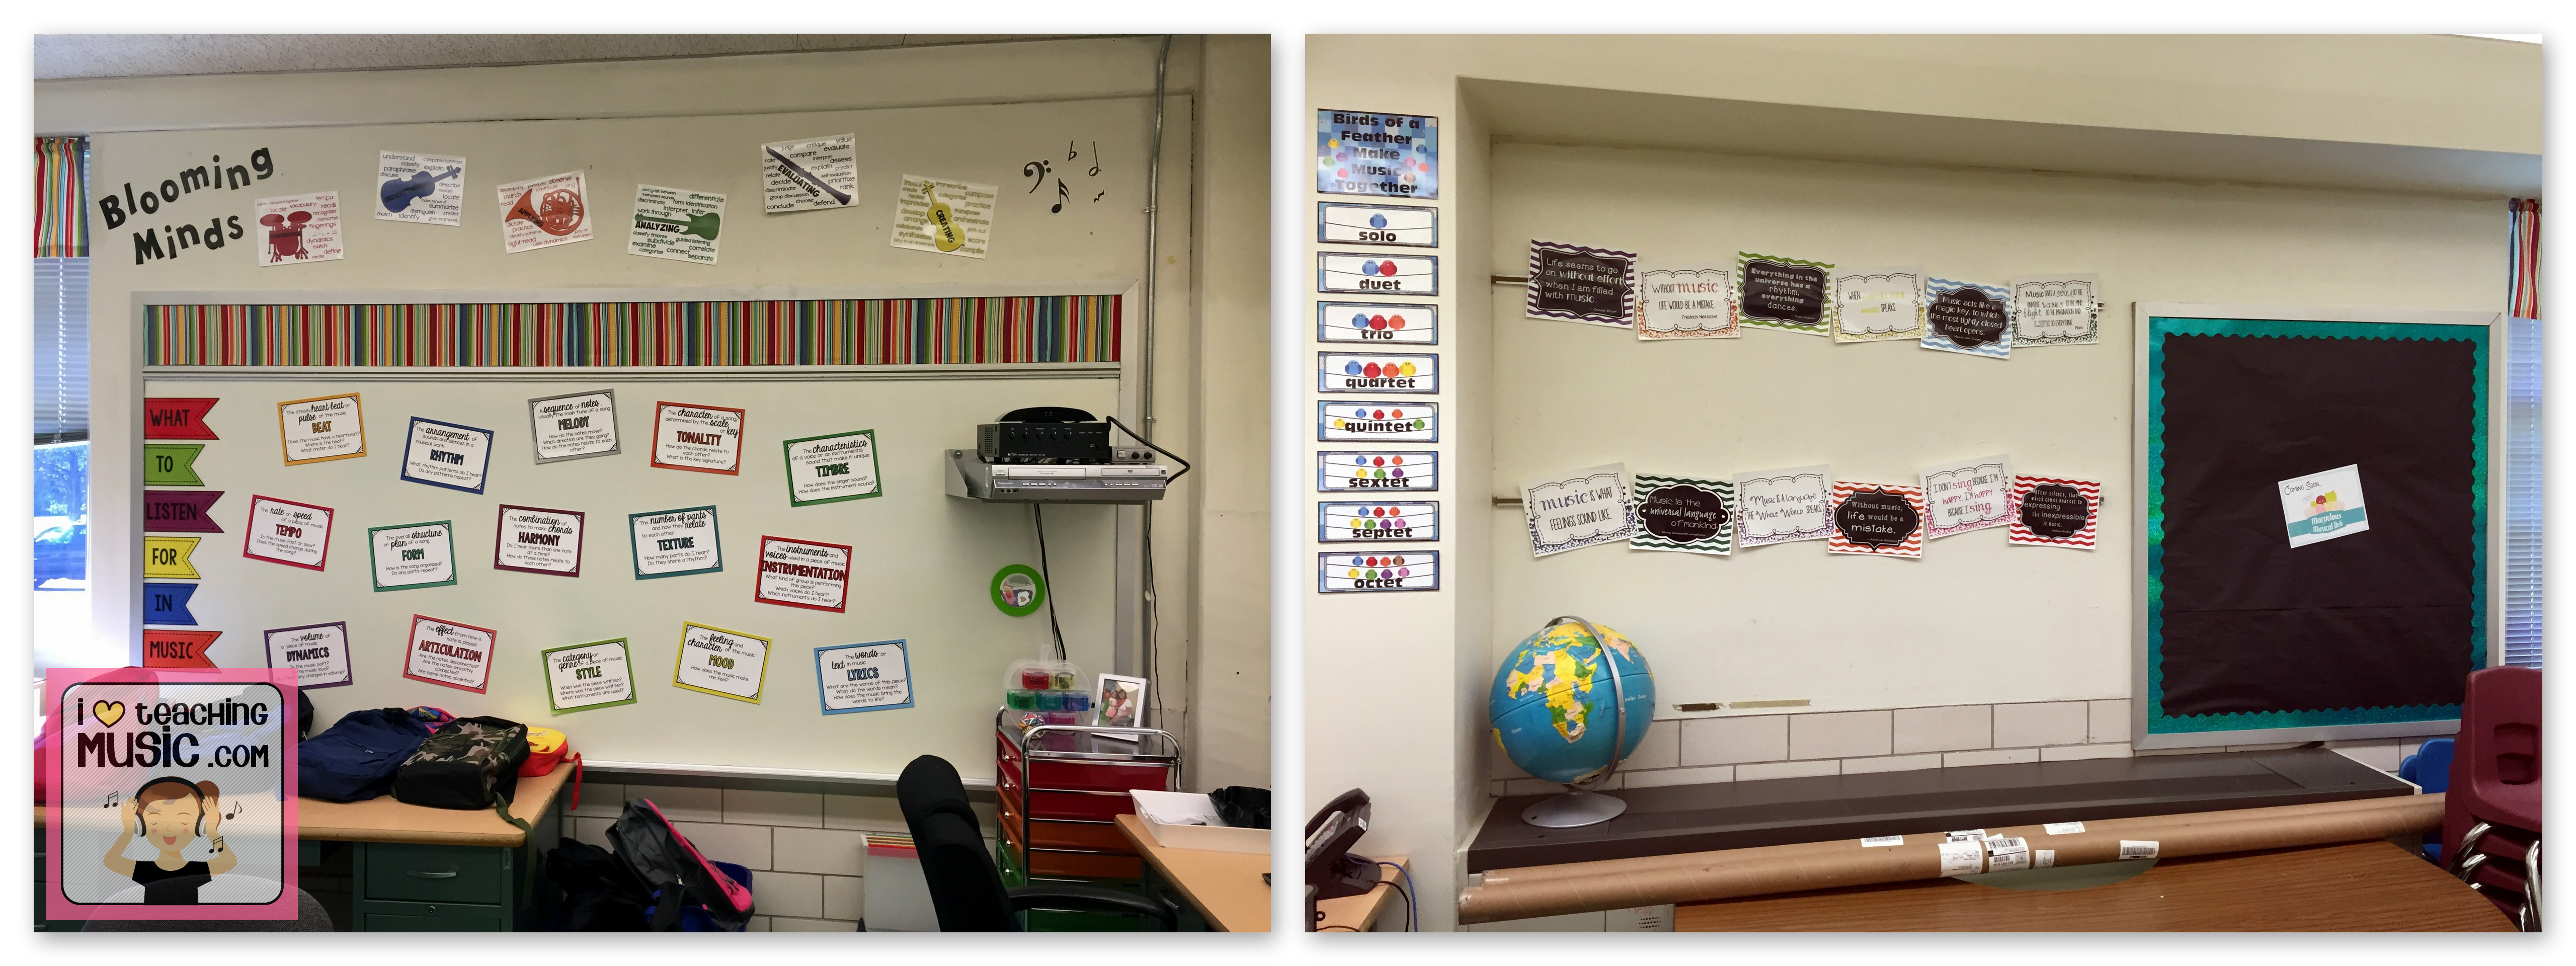
Back wall
What to Listen for in Music posters (also includes word wall cards, but I don’t have space!), Blooms in the Music Room posters, Bird Ensemble posters, Chevron Quote posters, & Spanish/English Quote posters. Teacher desk sits in middle of back wall (see next pic for close-up). Random extra desk with backpacks for students in need and kidney bean table with random large tubes (no idea where to put those, lol!). The small bulletin board has a “Coming Soon – Marvelous Musical Deli” sign on it. I will blog about that bulletin board separately when I get it finished. 🙂
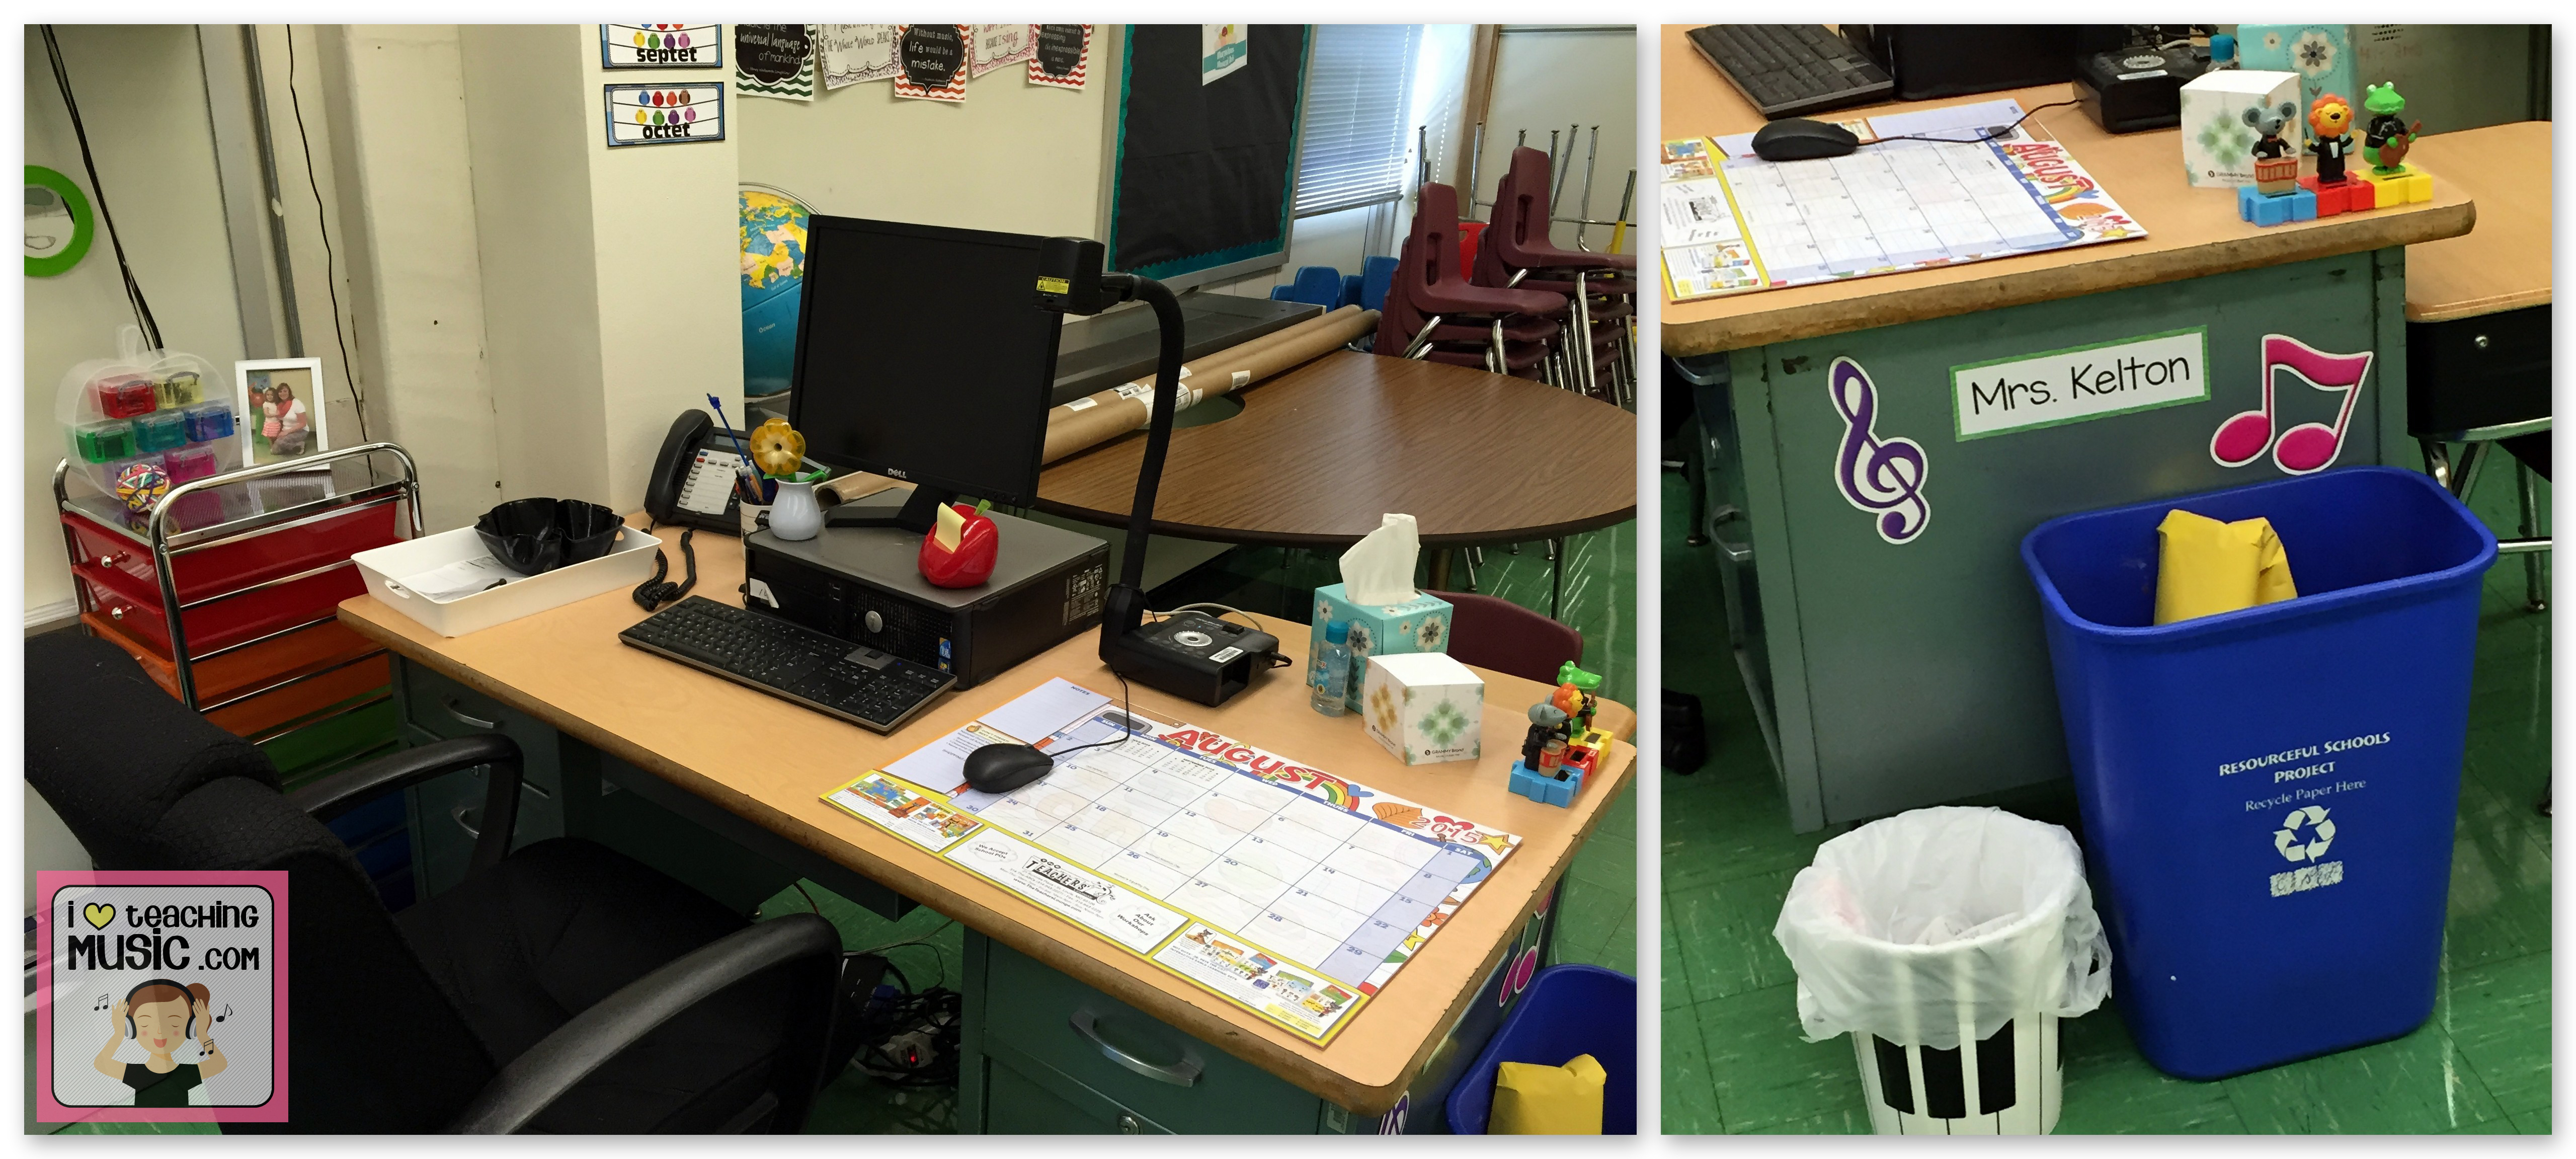
Desk
10-drawer cart, apple office supply organizer, solar-powered mouse, lion, and alligator (aren’t they so cute!), & piano trash can (purchased at Meijer for $5).
Right wall
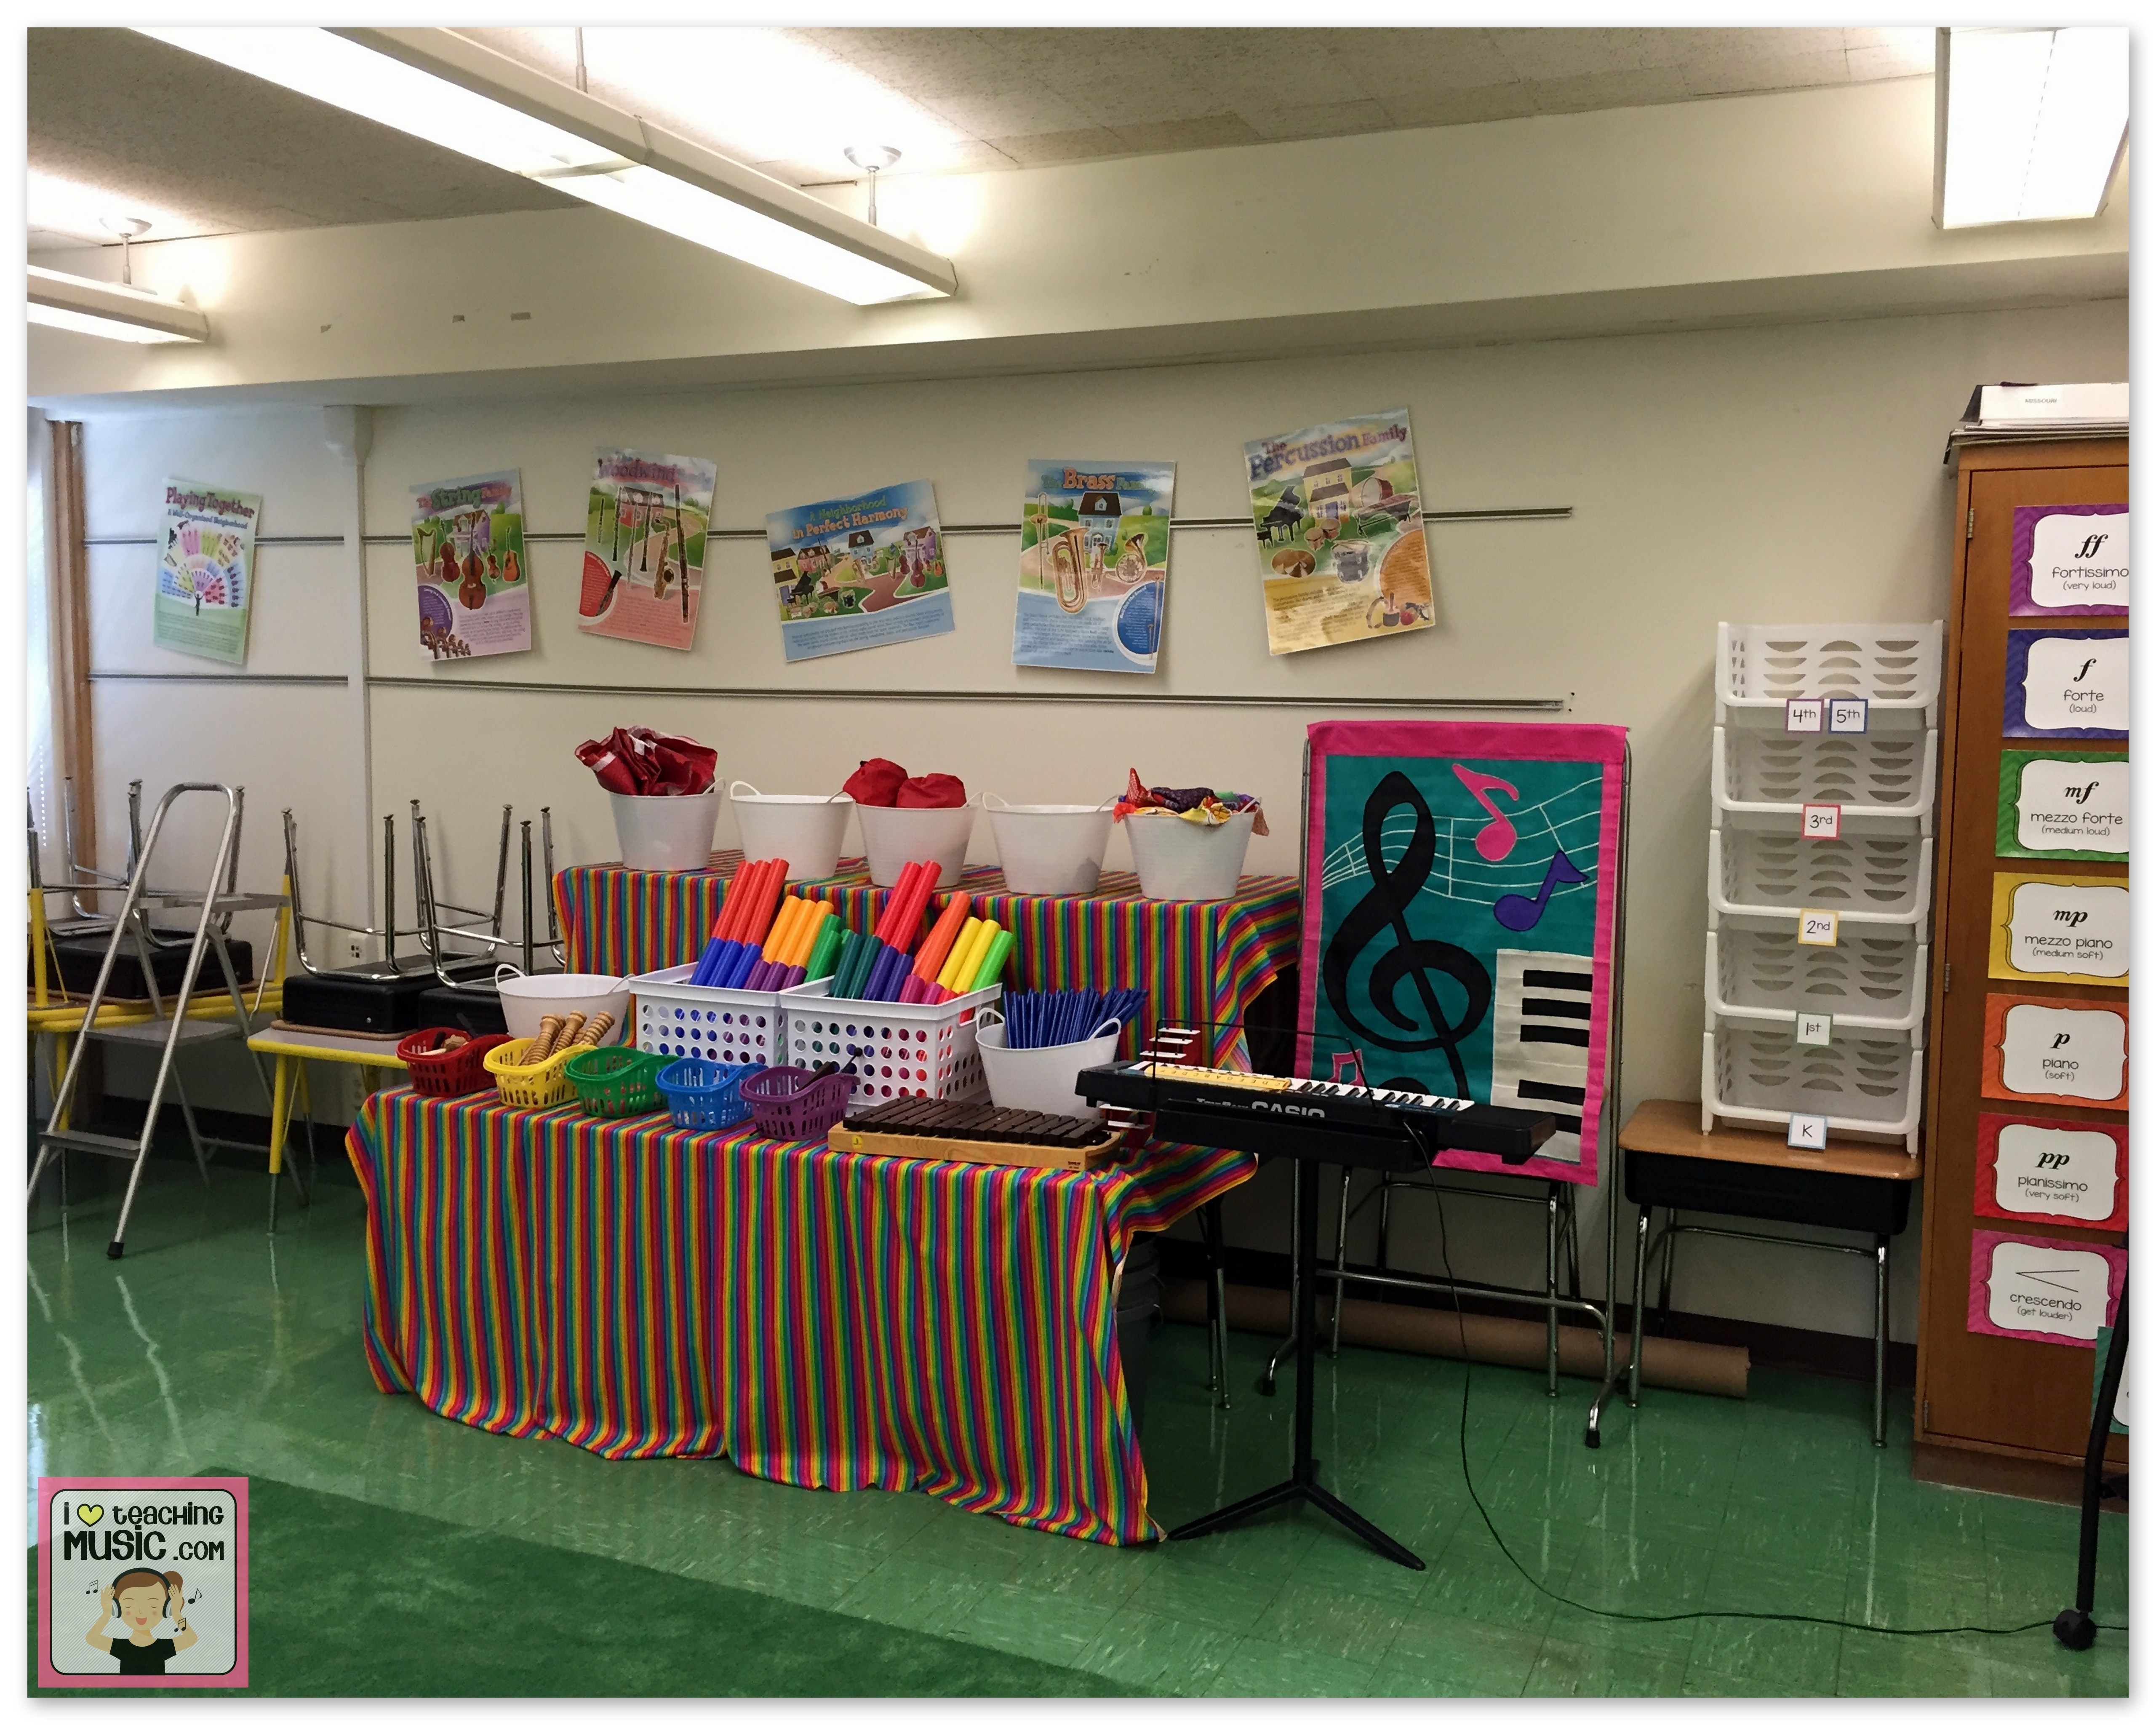
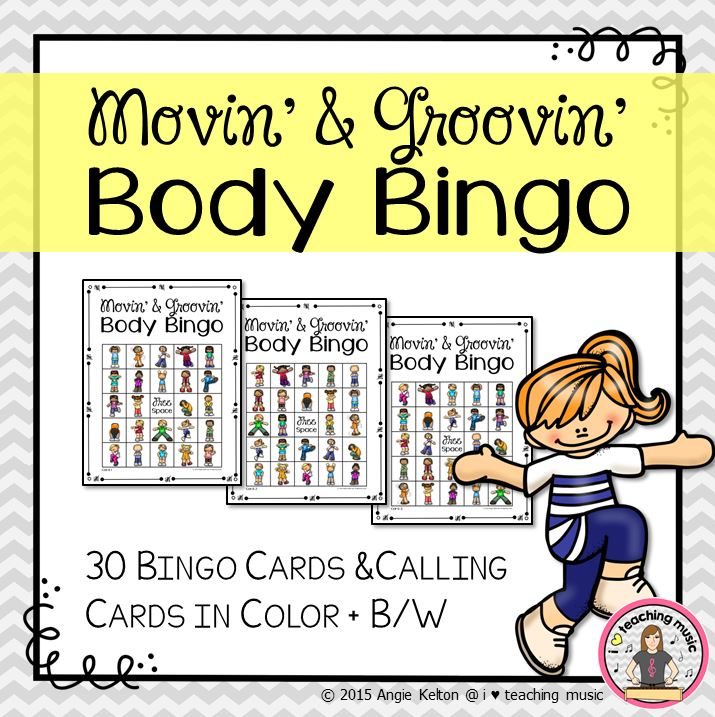
Instruments of the Orchestra posters, white buckets with instruments and movement props, white milk crates for boomwhackers (got for a steal at $.64 each!), stacking bins to organize materials for that day’s lesson (separated by grade), & lots and lots of random tables, desks, and chairs. Couldn’t get rid of the tables, so I utilized them for storage. Tables stacked on top of one another afford a tiered storage display. Fabric gives me a hiding place underneath to keep the room looking a little tidier. Music flag hung on chart/tablet display used to hide mess too! 😛
Front of the room
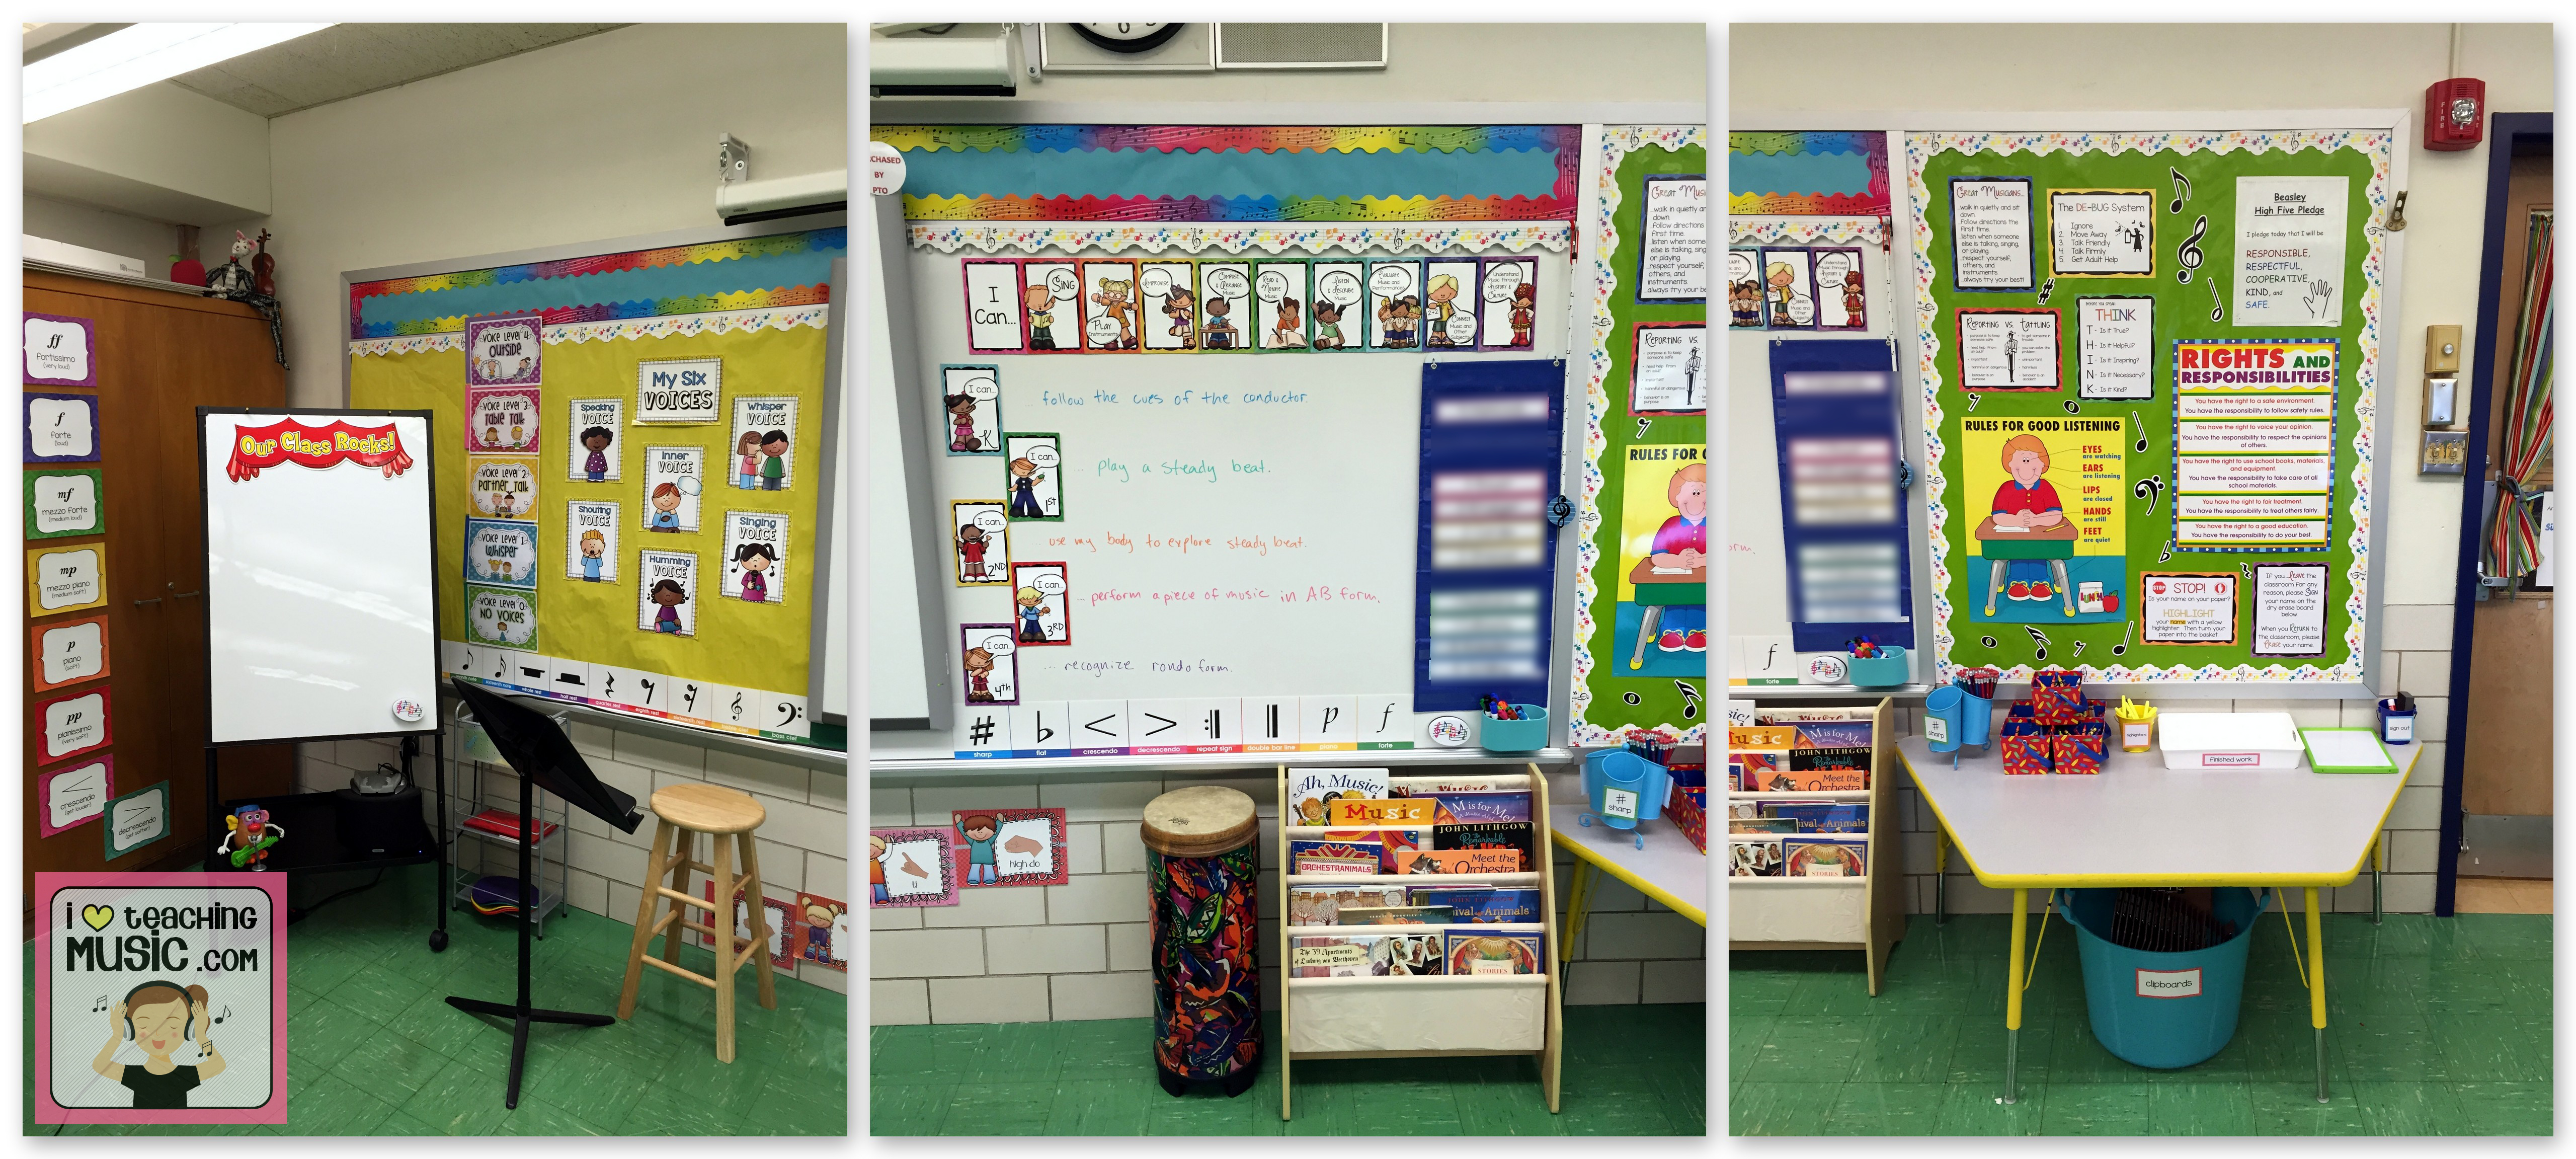
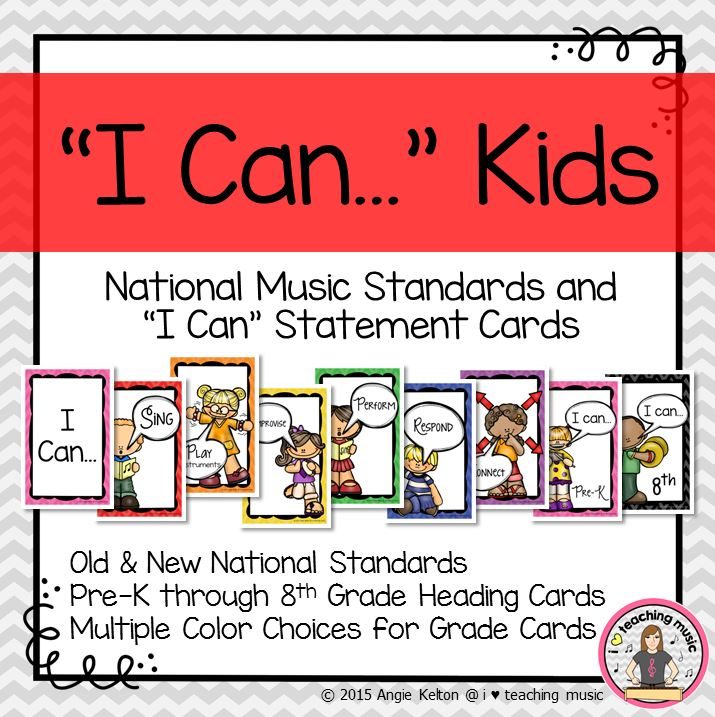
Dynamics posters that I quickly put together, MP3 playdock hooked up to Bluetooth receiver for my iPad, Voice Levels posters that were already in the room and I reused (probably from TPT???), My Six Voices posters, Body Sign posters under Smart Board, “I Can…” Kids cards (So excited about how these turned out – check out this post for a closeup!), daily schedule cards in pocket chart, canvas sling bookcase (available here, but I found at a kids thrift store), rules posters (some bought, some made), metal 3-bucket organizer used to organize sharp pencils, flat pencils, and erasers (from Hobby Lobby party section), crayon boxes (Target Dollar Spot), highlighters, turn-in basket, sign-in/out board, and clipboards in big blue bucket under table (bought at Deals for $1 each).
Whew! That’s a lot of stuff! Let me know if something’s not clear or I forgot to mention something! Thanks for sticking with me to the end!
Angie
While I’m at it, I’m linking up with The Bulletin Board Lady – Tracy King’s What’s on your Wall linky party. Check it out for other cool room reveals. 🙂
I’m also linking up to Fermata Fridays over at Organized Chaos. 🙂


Congratulations on finally getting a classroom of your own! It looks amazing!
Thanks Jennifer! Even having a classroom one day a week is uplifting to this tired traveling soul!
Looks great! So happy that you have your own room! That’s wonderful! Thanks for linking up!
Thanks Tracy! And thanks for hosting the linky!
Love how you’ve gotten everything set up! I’m exhausted just thinking about all the work you put into it! 😉 Thanks for sharing, including all of the links. I’m checking out some of your resources now! #fermatafridays
I love these set up ideas. Setting up a music classroom is one of the most important, yet frustrating things to do, and your ideas are awesome.